头部按钮
既然我们已经知道如何自定义标题的外观,让我们让它们变得智能化! 实际上,这可能有点野心勃勃,不如先让它们能够以非常明确的方式响应我们的触摸操作。
在标题中添加按钮
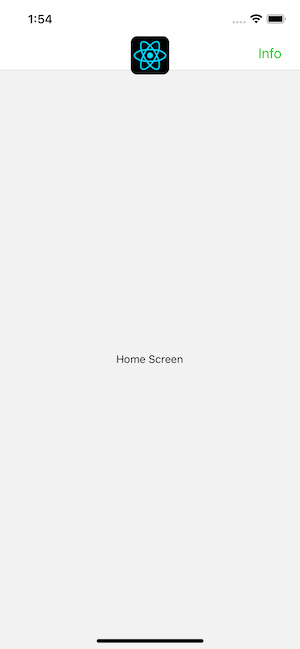
与标题交互最常见的方式是点击标题左侧或右侧的按钮。 让我们在标题的右侧添加一个按钮(根据手指和手机尺寸,这是整个屏幕上最难触摸到的地方之一,但同时也是放置按钮的常见位置)。
- 静态
- 动态
const MyStack = createNativeStackNavigator({
  screens: {
    Home: {
      screen: HomeScreen,
      options: {
        headerRight: () => (
          <Button onPress={() => alert('This is a button!')}>Info</Button>
        ),
      },
    },
  },
});
function MyStack() {
  return (
    <Stack.Navigator>
      <Stack.Screen
        name="Home"
        component={HomeScreen}
        options={{
          headerRight: () => (
            <Button onPress={() => alert('This is a button!')}>Info</Button>
          ),
        }}
      />
    </Stack.Navigator>
  );
}
当我们以这种方式定义按钮时,`options` 中的 `this` 变量不是 `HomeScreen` 实例,因此你无法调用 `setState` 或其任何实例方法。 这非常重要,因为通常我们希望标题中的按钮与标题所属的屏幕进行交互。 接下来,我们将看看如何实现这一点。
请注意,有一个社区开发的库可用于在标题中渲染具有正确样式的按钮:react-navigation-header-buttons。
标题与其屏幕组件的交互
在某些情况下,标题中的组件需要与屏幕组件进行交互。 对于这种情况,我们需要使用 `navigation.setOptions` 来更新我们的选项。 通过在屏幕组件内部使用 `navigation.setOptions`,我们可以访问屏幕的 props、state、context 等。
- 静态
- 动态
function HomeScreen() {
  const navigation = useNavigation();
  const [count, setCount] = React.useState(0);

  React.useEffect(() => {
    // Use `setOptions` to update the button that we previously specified
    // Now the button includes an `onPress` handler to update the count
    navigation.setOptions({
      headerRight: () => (
        <Button onPress={() => setCount((c) => c + 1)}>Update count</Button>
      ),
    });
  }, [navigation]);

  return <Text>Count: {count}</Text>;
}

const MyStack = createNativeStackNavigator({
  screens: {
    Home: {
      screen: HomeScreen,
      options: {
        // Add a placeholder button without the `onPress` to avoid flicker
        headerRight: () => <Button>Update count</Button>,
      },
    },
  },
});
function HomeScreen() {
  const navigation = useNavigation();
  const [count, setCount] = React.useState(0);

  React.useEffect(() => {
    // Use `setOptions` to update the button that we previously specified
    // Now the button includes an `onPress` handler to update the count
    navigation.setOptions({
      headerRight: () => (
        <Button onPress={() => setCount((c) => c + 1)}>Update count</Button>
      ),
    });
  }, [navigation]);

  return <Text>Count: {count}</Text>;
}

function MyStack() {
  return (
    <Stack.Navigator>
      <Stack.Screen
        name="Home"
        component={HomeScreen}
        options={{
          // Add a placeholder button without the `onPress` to avoid flicker
          headerRight: () => <Button>Update count</Button>,
        }}
      />
    </Stack.Navigator>
  );
}
在这里,我们使用一个带有 `onPress` 处理程序的按钮更新 `headerRight`,该处理程序可以访问组件的状态并更新它。
自定义返回按钮
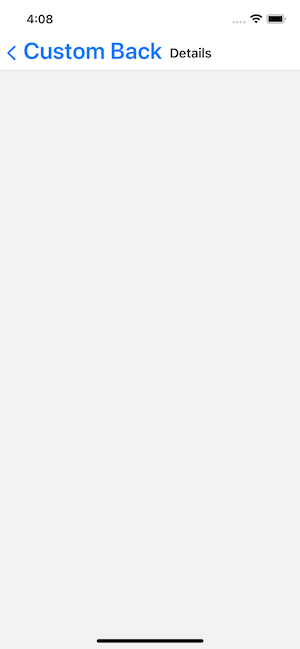
`createNativeStackNavigator` 为返回按钮提供了平台特定的默认设置。 在 iOS 上,这包括按钮旁边的标签,当标题在可用空间内时,该标签会显示前一个屏幕的标题,否则会显示“返回”。
你可以使用 `headerBackTitle` 更改标签行为,并使用 `headerBackTitleStyle` 设置其样式(阅读更多)。
要自定义返回按钮图像,你可以使用 `headerBackImageSource`(阅读更多)。
- 静态
- 动态
const MyStack = createNativeStackNavigator({
  screens: {
    Home: {
      screen: HomeScreen,
      options: {
        headerBackTitle: 'Custom Back',
        headerBackTitleStyle: { fontSize: 30 },
      },
    },
  },
});
<Stack.Navigator>
  <Stack.Screen name="Home" component={HomeScreen} />
  <Stack.Screen
    name="Details"
    component={DetailsScreen}
    options={{
      headerBackTitle: 'Custom Back',
      headerBackTitleStyle: { fontSize: 30 },
    }}
  />
</Stack.Navigator>
覆盖返回按钮
当用户可以从当前屏幕返回时,返回按钮将在堆栈导航器中自动渲染——换句话说,当堆栈中存在多个屏幕时,返回按钮将被渲染。
通常,这就是你想要的。 但是,在某些情况下,你可能希望对返回按钮进行比上述选项更多的自定义,在这种情况下,你可以将 `headerLeft` 选项设置为将要渲染的 React 元素,就像我们对 `headerRight` 所做的那样。 或者,`headerLeft` 选项也接受 React 组件,例如,可以用于覆盖返回按钮的 onPress 行为。 在 API 参考中阅读更多相关信息。
总结
- 你可以通过 `options` 中的 `headerLeft` 和 `headerRight` 属性在标题中设置按钮。
- 返回按钮可以通过 `headerLeft` 完全自定义,但如果你只想更改标题或图像,还有其他 `options` 可用——`headerBackTitle`、`headerBackTitleStyle` 和 `headerBackImageSource`。
- 你可以使用 options prop 的回调函数来访问 `navigation` 和 `route` 对象。